Three metres can be the whole difference. A rosemary planted against a south-facing brick wall comes through winter unscathed while its twin out in the lawn turns to sticks. Same soil, same watering, same gardener. The only variable is position, and position is something you can measure, record and repeat. That is what a microclimate map is for.
Heat-loving plants are rarely killed by the regional climate. They are killed by one bad night in a frost pocket, by a windy gap between a shed and a fence, or by a summer of drying out at the foot of a wall. Draw the garden’s small climates onto paper and those risks become visible before you spend money on plants that cannot survive them.
Why Microclimates Matter More Than Your Hardiness Zone
A hardiness zone describes a broad region. Your garden is a mosaic of much smaller climates, shaped by walls, slopes, paving, hedges and soil. Two spots ten paces apart can differ by several degrees on a February night and by weeks in how early the ground warms in spring.
Heat-lovers — peppers, aubergines, dahlias, figs, rosemary, lavender, container citrus — respond to accumulated warmth and to the absence of hard frost. Give them a warm wall base with sharp drainage and they behave like different plants. Put them in the cold, wet hollow at the bottom of the garden and no amount of feeding will compensate.
Before You Start: Tools, Timing and a Base Plan
You do not need instruments to begin, but a few cheap ones make the job faster and less subjective.
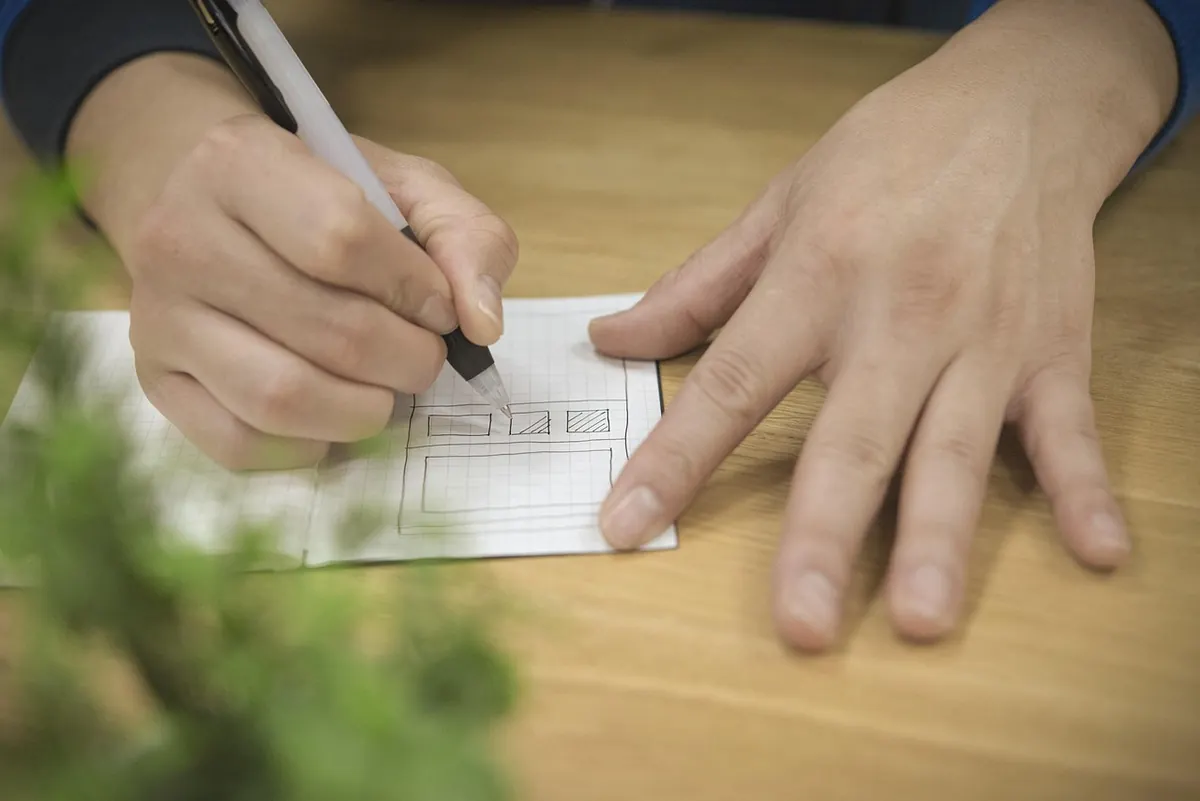
- A base plan. Measure the boundaries and main features, mark north with a compass, and note the house, sheds, walls, fences, large trees and paved areas.
- Two or three maximum-minimum thermometers. Move them weekly between the spots you are comparing, and record overnight lows rather than daytime highs — the cold is what limits planting.
- A trowel and a notebook. A soil moisture meter is useful, but a handful of soil squeezed in your palm tells you most of what you need.
- Tracing paper or digital layers. One sheet per factor keeps the map readable.
Survey across a season if you can, but do not wait for a perfect year. Four well-chosen observations carry most of the information: a clear frosty morning, a day of heavy rain, a still hot afternoon, and a properly windy day. Walk the same route at the same times so the comparisons hold.
Mapping Warm Walls and Heat-Loving Corners
Walls facing south and south-west collect solar heat during the day and release it slowly after dark, which is exactly what tender plants want. Dense materials — brick, stone, concrete, blockwork — store far more than timber cladding or glass. The warmest strip is usually within about half a metre of the wall, narrowing as you move along it and widening where the surface is dark or the paving in front of it also stores heat.
Go out early on a cold morning with a thermometer and read the temperature at the wall base, one metre out, and in the open lawn. Write the differences down. You are recording relative values, not absolute ones, and those differences are what you will plant by. A west-facing wall is the second-best option and dries out fast after rain. An east-facing wall warms quickly in the morning but gives up early in the afternoon, and it dries dew fast, which suits plants that resent wet leaves.
Dark paving, gravel and low stone walls all add warmth. So do the warm “shadows” cast by evergreens and fences that block the low winter sun — mark those as cold, wet zones on the same layer.
Finding Cold Pockets and Frost Traps
Cold air is heavy and it moves. It drains down slopes and pools wherever it cannot escape: the bottom of the garden, the base of a retaining wall, a corner enclosed by a solid fence, the low ground beyond a hedge. On a still evening you can sometimes feel the cold air drift past your ankles.
Practical clues are easy to collect. Note where the lawn stays frosted longest after sunrise, where the first autumn frost blackens annuals while the rest of the garden is untouched, and where the ground is still sticky in March when beds higher up are workable. Wet soil warms late, so a cold, badly drained hollow can set you back by weeks in spring.
If a solid boundary is trapping cold air, cutting a small gap at the lowest point can let it drain away. Otherwise, treat the pocket as a fact and plant accordingly: it is a good place for late-starting crops, for a pond, or for tough perennials that shrug off a late frost.
Charting Wind Exposure and Shelter
Wind does more damage to heat-loving plants than most gardeners expect. It tears large leaves, dries soil and compost quickly, and strips the warmth that a wall has stored. Before marking the map, learn your prevailing direction — check how trees and shrubs lean, which side of the shed takes the weather, and where rain most often hits the windows.
Then look for the local effects. A gap between a house and a hedge funnels wind and speeds it up. A solid fence gives shelter immediately behind it but creates churning turbulence a little further on. A permeable hedge filters the wind and gives a longer, calmer lee. Note where leaf litter and dust collect after a gale: those are the natural wind shadows, and they are some of the most useful planting spots in the garden.
Reading Soil Moisture Zone by Zone
Moisture has its own geography. The strip under the eaves is in permanent rain shadow. Ground at the foot of a wall competes with the wall for water and dries from both sides. Sandy and gravelly soils drain fast; clay and compacted areas hold water; the bottom of a slope is wetter than the top; raised beds dry out quicker than open ground.
Test rather than guess. After a day of heavy rain, look for standing water and note how long it takes to go. Three dry days later, dig a spade-depth hole in the same spots and feel the soil. Squeeze a handful: soil that holds a ball and smears is clay-heavy, soil that crumbles and falls apart is light and quick-draining. Moss, rushes and creeping buttercup point to damp ground; self-sown thyme, lavender and plantain suggest a dry one.
Hot and dry is a Mediterranean slope. Hot and wet is a different problem entirely, and most silver-leaved plants will not forgive it.
Pulling It Together on One Map
Keep the layers separate until you can see the patterns, then combine them into a single working plan with a clear legend.
- Shade the warmest zones in one colour and the cold pockets in another.
- Mark dry ground with hatching, wet ground with dots, and arrow the prevailing wind and the gaps that funnel it.
- Estimate sun hours along each boundary — six or more, four to six, under three — from photographs taken at set times.
- Add the frost dates you have observed, noting the earliest autumn and latest spring frost for each exposed spot.
- Date the map and keep an untidy duplicate for scribbles, because plants grow and the map changes with them.
Survey twice if you can: once in early spring and once in late summer. A bed that bakes in June may sit in deep shade by October, and the low winter sun reaches corners the summer sun never touches.
From Map to Planting List
Now the fun part. A warm wall base with sharply drained soil is the place for rosemary, lavender, cistus and figs. The same warm spot with moisture held at the roots suits tomatoes, cucumbers and dahlias far better than any silver-leaved shrub. A windy gap calls for shelter first — a hedge or a slatted screen — and only then for planting. The cold hollow at the bottom of the garden is best left honest: pond, wildflower strip or late-sown greens.
Fix the constraints you can change before you spend money on plants. Drainage and shelter are usually easier to adjust than temperature, so a gravel collar, a raised bed or a permeable windbreak can turn a marginal spot into a good one. Then plant the list to the map, not to the label, and update the whole thing after the first full year of watching.
Photo: TheVirtualDenise / Pixabay