Most garden maps are more honest than most garden plans. The map says the far corner gets four hours of sun and holds water after rain; the plan, drawn in February from a seed catalogue, says a lavender bed. The gap between those two statements is where gardens fail. Closing it is not complicated, but it does require reading your own survey notes as evidence rather than treating them as a formality before the interesting part begins.
If you have already measured your plot, marked the paths people actually walk, and watched where the light lands through a day, you are holding something more useful than a sketch. It is a set of constraints. Converted properly, constraints produce design decisions — bed shapes, plant groupings, the placement of a bench — that feel inevitable rather than imposed.
Read the Map as a Series of Arguments
Before drawing a single curve, go back through your layers and write one sentence for each. Not "south border, partial shade" but "south border is shaded by the neighbour's hedge until eleven, then baked until four; soil cracks in August." That second version contains the design brief in miniature: plants that tolerate both drying and root competition, or a change of surface, or a smaller bed pulled forward into better light.
Sort your observations into two piles. The first is fixed: boundaries, drainage direction, the position of the tap, the fact that the shed door swings outward. The second is negotiable: an overgrown shrub, a path that takes a diagonal shortcut, a view you like. Fixed items dictate geometry. Negotiable ones are where your design ideas get to work. Confusing the two is the most common reason a plan looks good on paper and awkward in the ground.
Let Reach and Movement Set the Bed Shapes
Bed dimensions should come from the body, not from a template. A border that can be reached from one side only is comfortable at around 60–90 cm deep; push it past a metre and the back of the bed becomes a place where plants go to be forgotten. An island bed accessible from all sides can be roughly twice that width before maintenance becomes a stretch. Mark those limits on the map with faint pencil lines and treat them as walls.
Curves need a reason. A generous arc works when it follows a mown edge, a change of level, or a desire to slow someone down as they walk past. A wobbly line added for softness usually reads as uncertainty, and it is far harder to edge and mow. Straight lines, on the other hand, are not automatically severe — they become elegant when they align with something, such as a window, a fence post, or the line of a path.
Group Plants by Site, Then by Taste
The map divides your garden into zones whether you ask it to or not: wet winter corner, hot gravel strip against the wall, dry shade under the tree, average soil in the middle. Design by these zones first. Assign each one a small palette of plants that share the same demands — water, light, soil texture — and you have done most of the work that planting plans usually get wrong.
Taste comes second, and it operates inside the zone. Within a thirsty bed you can still choose between airy grasses and broad-leaved foliage; within dry shade you can choose glossy evergreens or delicate woodland ephemerals. What you avoid is the salad of incompatible plants that only survives with constant intervention.
- Repetition over variety. One plant repeated seven times reads as a decision; seven different plants used once read as a shopping list.
- Drifts, not dots. Group in odd numbers and irregular clusters, wider than they are tall, so the eye reads a shape rather than a specimen.
- Anchor the corners. Place the largest, boldest planting where the bed turns or where two paths meet, and let it settle the composition.
- Keep a matrix. A low, reliable ground cover knitted through a bed hides gaps and halves the weeding.
Design Moves That Come Straight From the Data
Some of the best moves in a garden are simply answers to problems the map has already identified. Wind funnelling down a side passage becomes a line of evergreen screening, planted slightly inside the boundary so it does not push the fence. A low point where water collects becomes a shallow planted depression — a rain garden — instead of a bed of plants that rot. A path that everyone cuts across becomes the path, widened at the junction, with the old route softened into planting.
Light is the other reliable source of ideas. Note where the afternoon sun lands in spring and autumn, and put the bench there, not where the view is best from the kitchen window. If a corner is bright at midday and dim by five, use it for plants that peak early and let later-flowering things take over nearer the house.
A useful test for any proposed feature: which line on the map does it answer? If nothing comes to mind, it is decoration, and decoration is the first thing to be cut when the budget or the weekends run short.
Turn Notes into a Plan in Five Passes
- Trace the fixed layer. Copy boundaries, structures, drainage and existing trees onto a fresh sheet. Everything else is up for discussion.
- Draw movement first. Mark the routes people take and the ones you want them to take. Paths come before beds, because beds fill the space left over.
- Block the zones. Shade here, baking there, wet corner, sheltered pocket. Rough shapes are enough at this stage.
- Place the big pieces. Trees, hedges, a shed, a seat, a water butt. Check each one against the map: does it block light you need, or screen something you would rather not see?
- Only now choose plants. Assign a palette to each zone, then repeat and edit. If a plant has no zone that suits it, it does not go in, however much you like it.
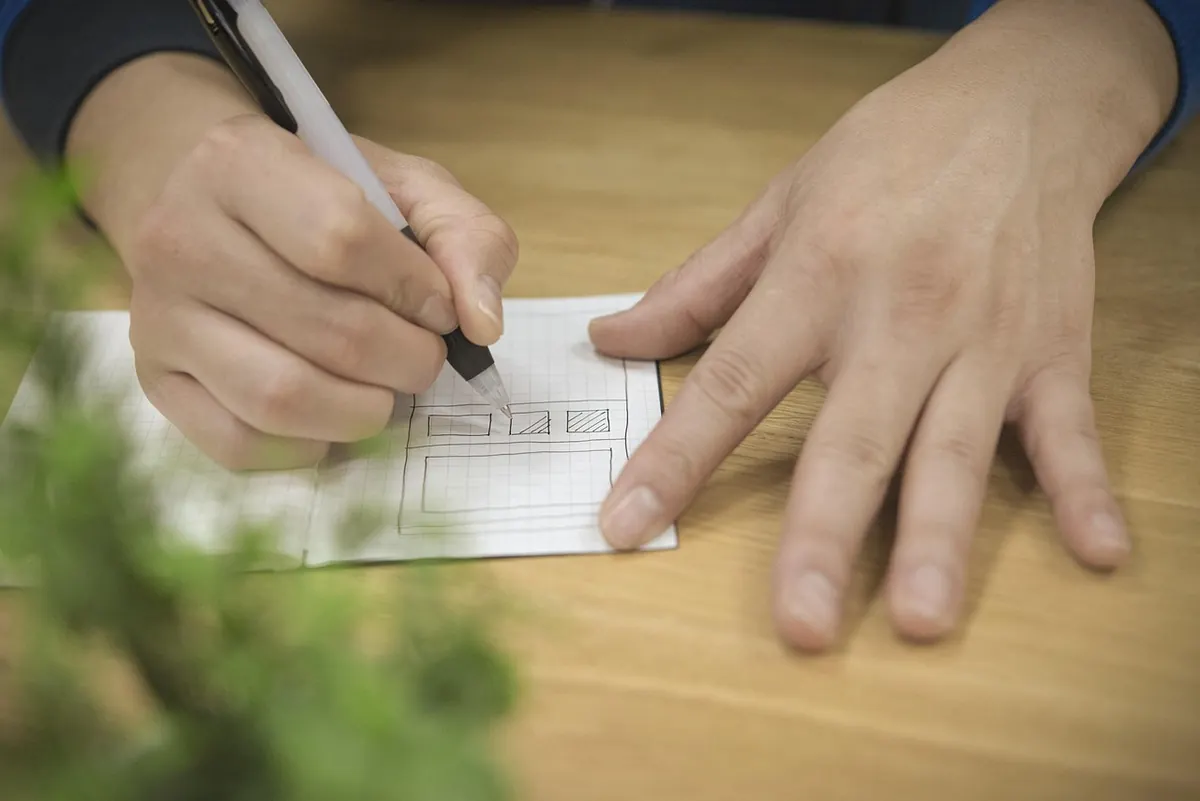
Work at the same scale throughout, and keep a soft pencil. Plans improve by erasure far more than by addition, and a sheet that has been rubbed out and redrawn three times usually shows it.
Edit Harder Than You Draw
The last stage is subtraction. Look at the plan and ask what could be removed without weakening it: the fourth path, the island bed that interrupts a clear lawn, the plant list with eleven species in a three-metre border. Fewer, larger gestures almost always look more confident and cost less to maintain. Leave space, too — a garden needs somewhere for the eye to rest, and an empty stretch of grass or gravel is doing real work.
Keep the Map Alive
Hang the finished plan on the shed wall, but keep the original survey sheet in a drawer and write on it. Note where the soil stayed wet in March, which plant sulked in the dry summer, where the light was better than expected. Each season adds evidence, and each new planting decision becomes easier because the map is no longer a record of what you measured once. It becomes a working description of the place — and the best design ideas tend to arrive when you read it again in a different month.
Photo: yatsusimnetcojp / Pixabay