A planting plan rarely fails because the plants were dull. It fails because the map under it was wrong: a border wider than drawn, a slope pushing water into the wrong corner, a label reading "shrub" that told you nothing by March. The map is the least glamorous part of garden design and the part that decides whether everything else holds together. These are the mistakes that show up again and again on graph-paper sketches, measured surveys and plans traced from a phone photo — and how to avoid each one.
1. Mapping From Memory Instead of Measuring
Pacing a border in boots gives you "about four metres", and four metres becomes a plant order. Six weeks later the bed turns out to be 3.4 m long and the shrubs are touching shoulders by the second summer.
Measure properly, and measure to fixed points. Don't run the tape from the lawn edge, which will move the moment you dig; run it from the house wall, a fence post, a drain cover, the corner of the patio. Anything that stays put. For beds under about ten metres a tape measure is enough. For longer boundaries, borrow or buy a measuring wheel — it's faster than a tape and less likely to snag in the roses.
Better still, work in pairs: one person holds the zero end, the other reads and calls out the number, and both get written down immediately. Measurements that live in your head until you get indoors have a habit of becoming round numbers.
2. Ignoring Slope and Where Water Goes
Slope is the mistake that hides. On plan, a garden looks flat; in reality it drops 60 cm across a border and every autumn the bottom third turns to soup. A one-in-fifty fall is almost invisible underfoot but adds up to 20 cm over ten metres — enough to drown a lavender and delight a willow.
Finding levels without specialist kit
You don't need a surveyor's level to spot the main falls. Push two canes into the ground a few metres apart, tie a string between them roughly level, and hang a line level on the string or hold a spirit level against a straight plank laid between them. Measure from the string down to the soil at each end. The difference is your drop over that distance. Repeat in three or four directions across the garden and you have the shape of the ground.
Then get wet. Go out during heavy rain, or straight after it, and watch where water runs, pools and lingers. Mark those routes on the map with arrows and note the low points with a small cross. If a slope is steep enough to need retaining walls, steps or serious drainage, get a landscape professional to look at it before you commit to a plan.
3. Plant Labels That Only You Can Decipher
"Pink shrub", "tree by shed", "the big one" — three labels that feel perfectly clear on a Sunday afternoon in June and are meaningless by February. A map is a record for the future, including a future version of you who has forgotten everything.
Write down more than you think you need:
- Botanical name plus cultivar, with the common name alongside in brackets. It's the only label that survives a change of supplier or a garden centre re-labelling.
- A number keyed to a legend, so plant 14 on the drawing is plant 14 in the list. Numbers are quicker to redraw than names.
- Mature size, not pot size. Note the eventual spread, because that is what decides whether the spacing works.
- What is already there — including anything you intend to remove. Mark removals with a different symbol. Digging up a dormant peony because it wasn't on the plan is a reliably painful experience.
And photograph the nursery labels when you plant. Printed labels fade to blank plastic within a couple of seasons, especially in sun.
4. Forgetting Access, Working Space and the Route to the Compost Heap
A plan can be beautiful and completely unworkable if it doesn't show how a person, a wheelbarrow and a mower get from A to B. Access is the first thing designers check and the last thing most of us draw.
Put on the map: gate widths, door swing arcs, the outside tap, bin storage, where you stack prunings, and the path to the compost heap. Note the width of your mower and the width of a loaded wheelbarrow — the barrow usually wins, and it needs close to 90 cm to pass comfortably.
Then think about reach. A border deeper than about 1.2 m from any edge means someone will be standing on the soil to plant, weed and prune it, and soil compacts. Either add a stepping stone route or narrow the bed. Leave a hidden spot for the hose reel and a flat patch for the water butt. These small decisions are cheap on paper and expensive later.
5. Mapping One Season and Calling It the Year
A garden surveyed in July is a different garden in January. The border that looks baked and open is the one that sits in deep shade from November to March; the bed under the deciduous tree is bright in April and dark once the canopy fills out.
Draw at least two versions of the light: midsummer and midwinter. Mark the sun's rough path across the plot, and note where the ground stays wet in winter and where it cracks in August. If wind is a problem on your site, sketch its prevailing direction, and mark the spots where a hedge or a windbreak would do more good than any plant choice.
Seasonal mapping also protects your planting plan from optimistic purchases. The hellebore that looks like a good idea in a sunny June sketch belongs somewhere else entirely.
6. Losing Scale, Orientation and the Key
Three small pieces of housekeeping that make the difference between a usable map and a nice drawing.
Scale. Pick one and stay with it — 1:50 for a border detail, 1:100 for the whole garden. Put a scale bar on the plan itself so the map still works if it's photocopied at a different size. Never mix metric and imperial halfway through.
Orientation. A north arrow, even an approximate one, so anyone reading the plan can relate it to the sun and the house.
The key. Every symbol, hatch and number explained in one place. A dot that means "existing shrub" in one corner and "tap" in another is worse than no dot at all.
Date everything
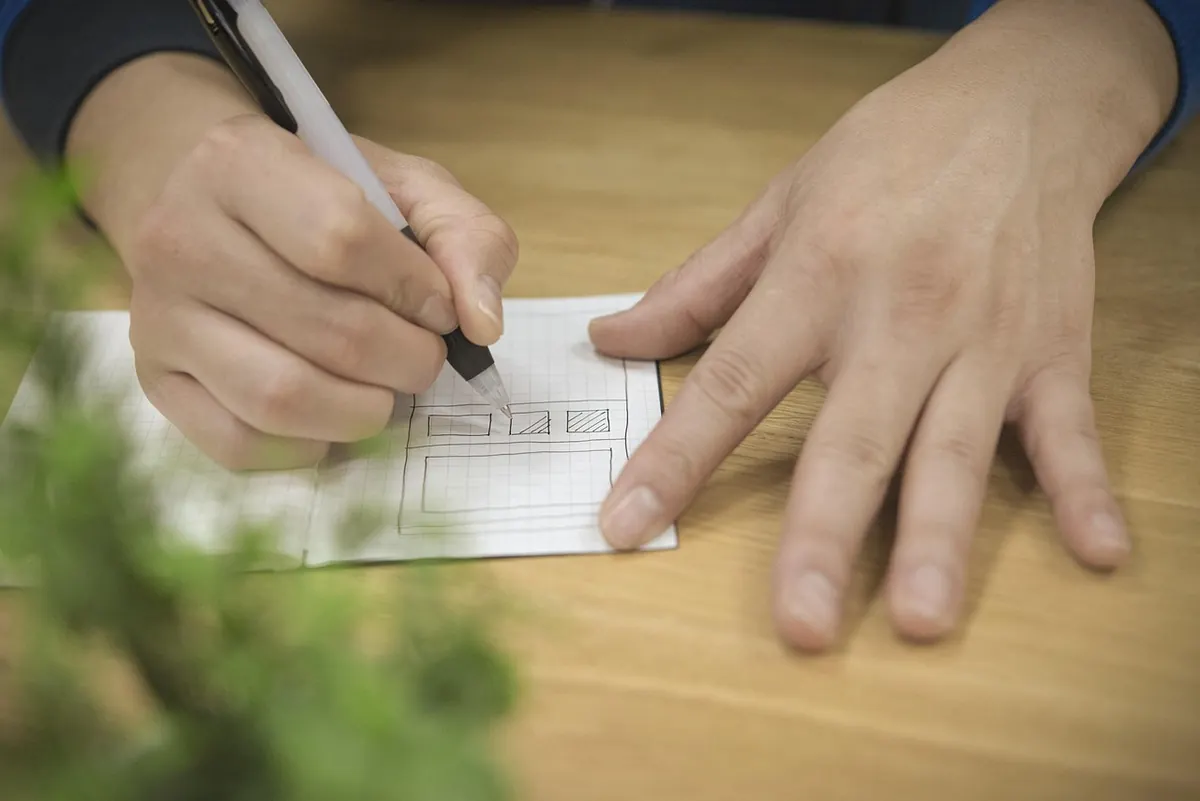
Write the date on every version and keep the master somewhere findable — a plastic sleeve in the shed, a folder, a scan you can open on your phone at the garden centre. Then actually update it: "laurel removed, March" takes ten seconds and saves an hour of confusion two years later. Hand-drawn plans on graph paper, one square to 50 cm, are perfectly good maps. Undated, unlabelled ones are not.
A Five-Minute Check Before You Order Anything
Before the plant order goes in, run the plan through this list. It takes less time than returning three shrubs that don't fit.
- Are the main dimensions measured, not estimated, and taken from fixed points?
- Does the map show the fall of the ground and where water collects?
- Is every plant named, numbered and listed with its mature spread?
- Can you walk a loaded wheelbarrow from the gate to the back of the border?
- Have you drawn the winter light as well as the summer light?
- Is there a scale bar, a north arrow, a key and a date in the corner?
Get those six right and the planting plan has something solid to sit on. The map won't make the garden, but a good one stops you making the same expensive decision twice.
Photo: mozlase__ / Pixabay