Light is the one material in a garden you cannot buy by the bag. Most planting plans are drawn in spring, when light feels generous and every corner looks workable. Six months later the same borders are dim by two in the afternoon, and the shrubs you placed for winter interest sit in shadow from November to February. A winter light map fixes that. It takes an afternoon, a compass and a roll of tracing paper, and it changes how you see the ground you thought you knew.
Why the Winter Map Looks Nothing Like the Summer One
In a temperate garden the difference is dramatic. At midsummer the sun climbs high overhead, and a two-metre wall throws a short shadow roughly a metre or so beyond its base. At midwinter the same sun barely lifts above the rooftops, and that same wall throws a shadow six or seven times longer. Nothing about the garden has changed except the angle of the light, and yet half the plot has moved into the dark.
There is a second shift, less obvious but just as useful. Deciduous trees and hedges stop being solid objects. A lime or a birch that casts dense shade in July becomes an open lattice of branches in January, letting through a moving pattern of sun that can be worth more than you would guess. Evergreens, walls, fences and buildings do the opposite: their shadow becomes absolute, and it reaches much further than in summer. Winter mapping is really about telling those two kinds of shade apart.
There is a third factor too, and it is the one gardeners feel before they can explain it: wet, cold ground stays cold far longer in shade. A bed that sits in shadow until eleven in the morning may still be unworkable in March while a sunnier bed ten metres away is dry enough to plant.
What to Record, and When
You do not need a whole winter of observations. Three or four clear days will do it, spaced out so you can see the light move. Aim for around the winter solstice, which falls near 21 December in the northern hemisphere, and then again in late January and early February. Those two extra visits matter because they show you how quickly the light returns — and which corners recover first.
On each visit, note the same things:
- The noon sun line. Where the sun actually reaches the ground at its highest point, and how far that is from the wall, fence or hedge casting the shadow.
- Morning and afternoon edges. The boundary of sunlit ground at roughly 9am, 11am, 1pm and 3pm. The shape of that boundary tells you which beds get a short useful window and which get nothing at all.
- Frost and snow behaviour. Where frost lingers last, where snow melts first, where puddles sit. These are free recordings of light, cold and drainage all at once.
- The direction of the low sun. Take a bearing with a compass or a phone compass app, standing in the middle of the garden facing the sun. Magnets and metal fences can pull a phone off course, so treat the reading as a rough guide rather than a survey.
A Field Method That Takes an Afternoon
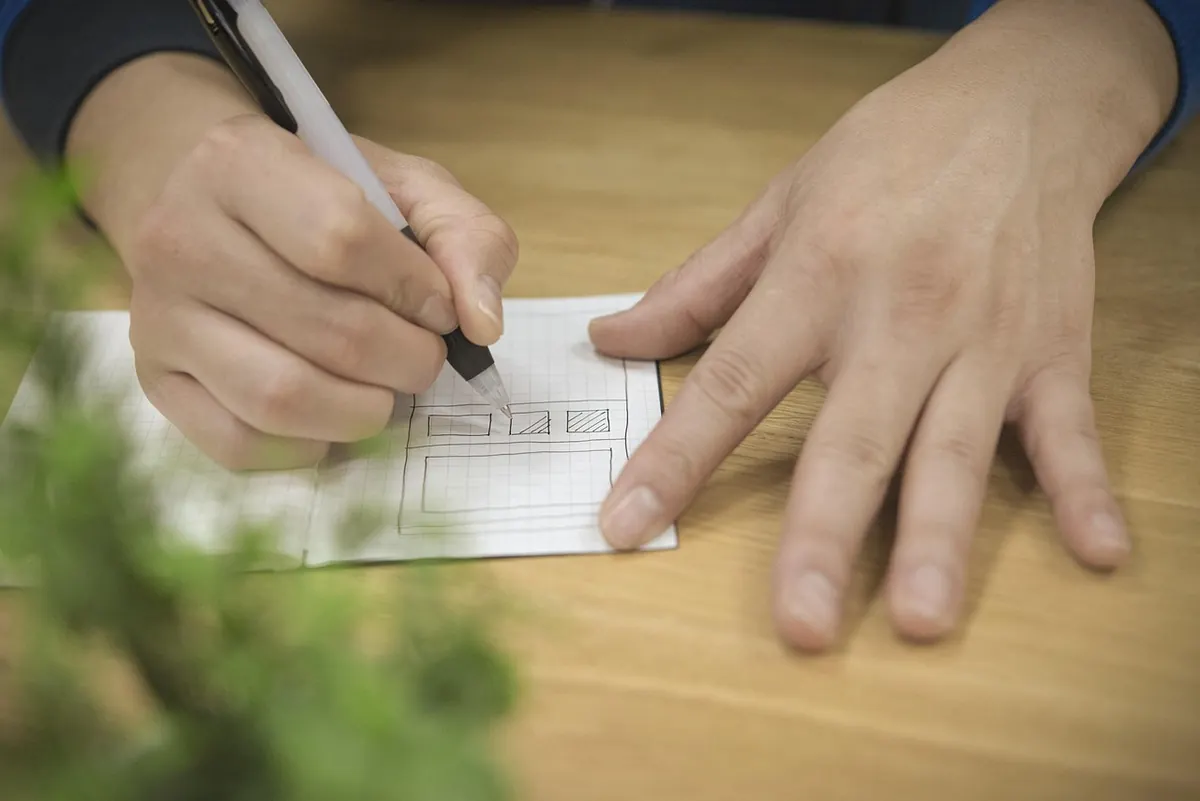
Work on a bright, cold day when shadows have hard edges. Begin with a simple base plan of the garden — boundaries, paths, buildings, beds and the positions of large trees — drawn on graph paper with a rough scale, such as one square to the metre. Nothing needs to be accurate to the centimetre; you are mapping zones, not surveying a boundary.
- Choose a fixed reference point, such as the corner of the terrace or the back door, and mark it on the base plan.
- At 9am, lay a hose, a length of string or a line of canes along the edge between sun and shade on the ground. Photograph it from the reference point.
- Measure the distance from the wall or hedge to that shadow edge with a tape, and sketch the line on your plan in pencil, labelled with the time.
- Repeat at 11am, 1pm and 3pm, using a different pencil or pen colour for each hour.
- Note which shadows come from walls and evergreens and which come from bare branches. Write this on the plan rather than trying to draw it.
- Take four photographs from the same spot, facing each direction, at eye height. Standing in the same place each time makes the photos comparable.
Do the whole routine again in early February. The lines will have jumped noticeably towards the north, and the beds that gain an hour of extra light are exactly the ones to plant first.
Turning Marks on the Ground into a Working Map
Back indoors, lay a sheet of tracing paper over the base plan and transfer the shadow lines. Use a simple code you will still understand next winter: solid blue for ground in shade all day, light hatching for areas that get a short window of sun, and plain paper for the pockets that stay bright for three hours or more. Circle the sun traps — the base of a south-facing wall, the corner where two walls meet, the strip of paving in front of a window — because these are the most valuable square metres in the garden.
Keep the winter layer separate rather than drawing it onto the main plan. Then you can overlay a summer version, or a wind and frost version, and read them against each other. A garden that is in deep shade in December but bright and open in June is not a problem; it is a different set of planting decisions.
Letting the Map Choose Your Evergreen Structure
This is where the winter map earns its keep. Evergreens do the structural work in a garden — they hold the shape of the space through the bare months — but they also cast the hardest shadows of anything you will plant. The map shows you exactly where that cost falls.
In practice, most of the evergreen weight belongs on the north and east boundaries, where the shadow it throws lands outside your plot or on ground you were not going to use in winter anyway. Keep the southern and western edges low and open. A two-metre hedge along the sunny side of a small garden can put almost the entire plot into shade in December, which is a heavy price for a screen you may only half need.
Where a gap beats a wall
Solid boundaries have one more effect worth mapping: they trap cold air. On still winter nights, cold air slides down the garden and pools against a solid fence or wall, forming a frost pocket. A gap or a small opening at the lowest point gives that air somewhere to drain, and the difference in the plants that survive there is often noticeable. Note the low corners on your plan and treat them as the coldest spots in the garden.
Planning Spring Planting from the Winter Record
Spring planting is where a winter map becomes immediately practical. Beds that receive winter sun dry out and warm up earlier, so they are the ones to use for early salad sowings, for a cold frame, or for the first hardy perennials you want to establish before summer. Place a greenhouse or cold frame with the winter sun in mind rather than the summer sun — a structure that sits in bright December light will be far more useful than one that only performs in July, when it may overheat anyway.
Bulbs are the other obvious beneficiaries. Snowdrops, crocus and winter aconite all flower better in ground that gets some direct low sun and drains sharply, so put them along the sunny edge of a border rather than in the middle of it. Hellebores will tolerate shade, but they flower with more conviction where the light reaches them. Early-flowering shrubs such as winter honeysuckle and viburnum also repay a sunny position with scent carried further on still, cold air.
Finally, let the map tell you what to leave alone. A bed that is in solid shade from November to February is not a failure; it is a place for ferns, hostas and woodland plants that do their work later. The mistake is trying to force a sun-loving plant into it because the bed looked fine in June.
Keeping the Map Alive
Redraw the winter layer once a year, in the same week if you can manage it. Date every sheet and add short notes: the year the neighbour's conifer came down, the winter the hedge was cut back hard, the corner where the new shed went up. After three winters you will have something more useful than any planting guide — a record of how light actually behaves in your own garden, and a reliable basis for every structural decision you make from then on.
Photo: Kanenori / Pixabay