Most planting mistakes are light mistakes. A rose that sulks behind the shed, lettuce that bolts by the first week of July, a fern scorched against a south-facing wall: these are rarely failures of watering or feeding. They are failures of observation. A sun map is a single sheet of paper that records where light actually falls in your garden, hour by hour, and it may turn out to be the most useful document you own after the property deed. Done properly, it takes one clear afternoon.
What the Map Should Record
Sun maps often get boiled down to three words from a plant label: sun, part shade, shade. That is enough to choose a plant, but not nearly enough to place one. A bed receiving five hours of early light is a different environment from one receiving five hours from noon onwards. The first dries out slowly and stays cool; the second bakes.
So a working map records more than a single number:
- Total hours of direct summer sun, excluding dappled light filtered through leaves
- When that sun arrives — morning, midday or late afternoon
- Light bounced back off pale walls, fences and paving
- Shadows cast by things that will change: a hedge due for cutting, a young tree, a shed you keep meaning to build
- The cold, wet and compacted spots, which matter as much as the bright ones
Tools You Probably Already Have
Nothing here requires a purchase. A light meter app on a phone can be a useful cross-check, but your own eyes and a pencil will do the real work.
- Graph paper and a soft pencil with a good eraser
- A clipboard, so the paper does not flap in the wind
- A compass, or the compass on your phone
- A clock, or alarms set at hourly intervals
- Two or three coloured pencils — yellow for sun, orange for strong afternoon light, grey-blue for shade
- Short canes, chalk or a ball of string to mark the shade edge
- A camera, for the shadows you will swear you will remember
- A hat, water and something to sit on
Step One: Draw the Base Map
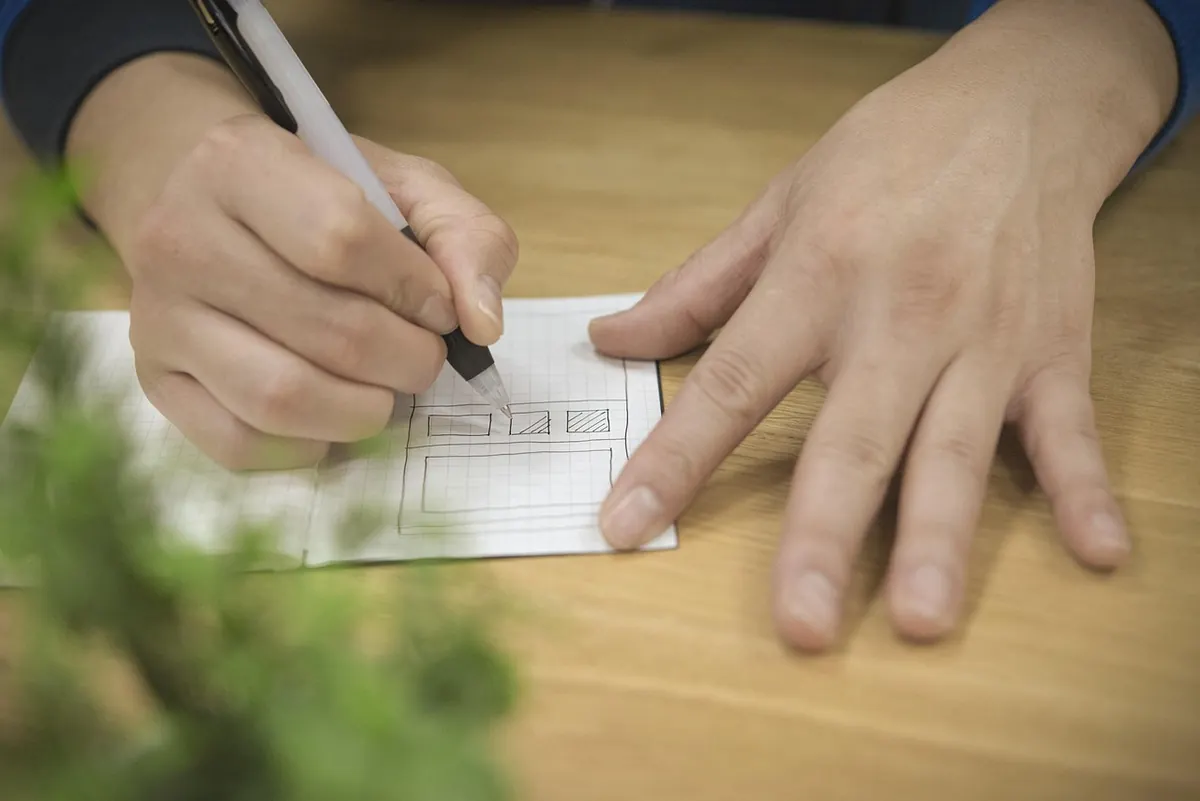
Start with the shape of the place before you record a single ray of light. On graph paper, let one square stand for one metre, or one pace if that is easier to work with. Pace out the boundaries and calibrate against one measurement you trust — the length of the house wall, for instance — so the proportions stay honest.
Draw the outline of the plot, then fill in the fixed elements: house, garage, paths, patio, fence lines, walls, hedges, the trunks of trees and shrubs. Show tree canopies as dashed circles, since they will grow and cast more shade than they do today. Mark bed edges and lawn boundaries lightly, in pencil, because these will change. Finally, add a north arrow. Everything that follows depends on it.
Keep the drawing plain. A map crowded with ornament is a map you stop using.
Step Two: Choose a Clear Day in the Right Season
Pick a forecast with uninterrupted sunshine and no haze, and choose a date that reflects the growing season you actually garden in. Late spring or early summer suits most people: the sun is high enough to show real patterns and the beds are full of leaves. If you can only manage one map, make it this one. If you garden seriously under glass or in a polytunnel, map that on the same day — the light inside is always different from the light outside.
Begin mid-morning and finish in the late afternoon. A garden that is in shade at eight is not necessarily a shady garden; you need the middle of the day in the picture.
Step Three: Follow the Shade Line Around
Work in hourly passes. On the hour, walk the garden and mark the boundary between sun and shade — a cane pushed into the soil, a chalk line on paving, a pencil mark on the map. Note which beds are fully lit, which are half lit and which are in full shadow, and jot the time beside each mark.
The line will move faster than you expect. Shade does not simply arrive and leave; it travels across the ground, retreating from one edge of a bed while creeping in from another. By the end of the day you will have a stack of hourly notes that, joined together, describe the shape of your garden's day.
Watch the quality of the light, not just the quantity
Two beds with six hours each can behave completely differently. Morning sun is gentler and dries dew from leaves, which helps against mildew and damping off. Afternoon sun is stronger, hotter and harder on young plants and shallow-rooted perennials, especially in a bed against a west-facing wall where the heat lingers into the evening. Write those observations in the margin. They will guide more decisions than the hour count alone.
Step Four: Add What the Sun Can't Tell You
Light is only one layer. Walk the garden again with the finished map in hand and annotate the things a shadow cannot show. A sunny bed on a south-facing brick wall stays warm long after sunset — wonderful for rosemary and figs, punishing for plants that prefer cool roots. A bed at the bottom of a slope collects cold air on clear nights and frosts earlier than the rest of the garden. A strip beside a downpipe will be wet in March and cracked dry in August.
Mark the sheltered corners, the windy gaps, the compacted paths where water sits. These notes take ten minutes and save years of trial and error.
Step Five: Turn Zones into Planting Decisions
Now read the map the way you would read a plan. Colour in the zones and label each with a realistic description, then match plants to the conditions rather than to the photographs in the catalogue.
- Six hours or more, including midday: tomatoes, peppers, aubergines, courgettes, rosemary, lavender, most roses, dahlias, fruit trees and soft fruit.
- Four to six hours, best in the morning: lettuce, spinach, chard, brassicas, peas and beans — crops that bolt or scorch when the afternoon sun is relentless.
- Two to four hours, or dappled light: hostas, ferns, hellebores, foxgloves, woodland perennials and many spring bulbs.
- Deep shade under evergreens or overhangs: epimedium, ivy, hardy ferns and spring bulbs that flower before the canopy closes.
A plant in the wrong light will not be talked round with fertiliser.
Then use the margins. Put the heat-lovers against the warm wall the map has shown you, keep the lettuce in the bed that finishes its sun by midday, and stop planting sun-worshippers in the strip beside the north fence, however tempting the empty space looks in April.
Map It Again When the Season Turns
A single midsummer map is a snapshot, not a portrait. The low winter sun reaches corners the June sun never touches, and a bed that is bright in May can disappear under leaf by August. If you have the appetite, repeat the exercise at the spring and autumn equinoxes, when day and night are equal and the patterns are easiest to compare. Even a rough second map, made in October, will show you which spots are genuinely dark and which are merely shaded for a few weeks.
Keep the Map Working
Pin it up somewhere you will see it — inside the shed door, on the wall by the back step. Then treat it as a living document. Scribble on it: which tomato cropped well, which fern crisped, where the soil stayed cold into May. Next spring, before you order a single packet of seed, you will have a garden record that is more accurate than any plant label and entirely your own.
Photo: gregovish / Pixabay