The keys are yours, the boxes are stacked in the hall, and the garden is either a bare rectangle of builder’s rubble or a thicket of shrubs nobody has pruned since 2009. Both are workable. Neither tells you what you need to know before you plant anything. A garden survey isn’t a formal document — it’s a page of notes and a rough plan that records what is actually there: the slope you didn’t notice, the manhole hidden under the lawn, the fence panel that belongs to next door. Give it one dry afternoon with a tape measure, a notebook and your phone camera, and you will sidestep most of the costly mistakes new owners make in their first season.
1. Start at the Edges: Boundaries, Fences and Access
Boundary confusion causes more neighbour friction than anything else in a garden, and the line a fence follows is not automatically the line of your title. Find the plan that came with your purchase and compare it with what stands on the ground.
- 1. Confirm the legal boundary. Mark the line from your title plan onto your sketch. Where it is unclear, ask the conveyancer or surveyor who handled the purchase rather than guessing. Check hedge ownership before you cut; a hedge that looks like yours may be shared or entirely the neighbour’s.
- 2. Record every fence, wall and gate. Note material, height, condition and which side the posts and rails face. Photograph the weak panels now — repairs get pricier once winter arrives. If you plan to change a boundary feature or build near one, check the rules with your local planning authority first; permitted development limits and party wall rules vary from place to place.
- 3. Measure the access route. Note gate widths and the narrowest point between house and fence. This decides whether a wheelbarrow, a mower or a bulk bag of topsoil can actually reach the back garden.
2. Read the Levels and the Water
Flat gardens are rare, and small differences in height do more to shape a planting plan than most people expect.
- 4. Find the slope and its direction. A straight plank, a spirit level and a tape give you a workable reading. Even 20 cm of fall across a patio changes where water sits and where a mower labours. Note high points, low points and any steps or retaining edges.
- 5. Watch where water goes. Walk the garden during heavy rain, or straight after it. Look for pooling, soil washing onto paths, and downpipes discharging against the wall. Mark every damp patch on your sketch. Sorting drainage is far cheaper than replacing plants that drown each February.
- 6. Chart the sun and the shade. Note which way the garden faces and how shadows move through the day. A bed in full sun at noon in June may sit in gloom by October, because the sun’s angle changes with the season. Also note microclimates: a south-facing wall stores heat and shelters tender plants, while the bottom of a slope collects cold air and frost.
3. Find What Is Buried Before You Dig
Almost every new-build garden hides something under the surface, and older gardens hide more.
- 7. Locate the services. Water, gas, electricity, telecoms and drainage all cross or enter the plot somewhere. Many countries run a free before-you-dig enquiry service; use it, keep the plans, and draw the routes onto your sketch. If an outbuilding has a private supply, trace that too.
- 8. Lift the drainage covers. Manholes, inspection chambers, soakaways and septic tanks all need to stay accessible. Note the direction of flow and never plant trees or build raised beds over a chamber.
- 9. Probe for buried debris. Push a screwdriver or metal rod into beds and lawn edges. What looks like soil is often 10 cm of topsoil over hardcore, old path foundations or builders’ rubble. Knowing where the rubbish lies tells you which beds to build up and which to dig out.
4. Test the Soil Yourself
You don’t need a laboratory to learn the basics. You need a jar, some water and a spade.
The jar test, step by step
- Fill a clear jar one-third full with soil from the bed you plan to plant first.
- Top up with water, add a pinch of washing soda if you have it, and shake hard for a minute.
- Leave it overnight. Sand settles first, silt next, clay last — the bands show roughly what your soil is made of.
- Note the proportions on your sketch, along with how quickly water drains from a spade-sized hole filled with water.
- 10. Record texture and drainage. Sandy soil dries out fast and feeds poorly; clay holds water and cracks in summer. Both can be improved, but the plan differs.
- 11. Check the pH. A simple home kit is enough to tell you whether you are working with acid or alkaline ground. Look at what already thrives — flourishing camellias, rhododendrons or blueberries suggest acid soil. For a vegetable plot you intend to rely on, a professional soil test through a local horticultural service is worth the modest cost.
- 12. Test depth and compaction. Push a spade in. If it bounces, the ground has been compacted by building work or machinery, and new plants will struggle. Count the earthworms in one spadeful: a healthy soil has several. Poor subsoil is common in new developments, so check before you blame your watering.
5. Inventory What Already Grows and Stands
Existing features are assets or liabilities, and it pays to know which before the chainsaw comes out.
- 13. Identify trees, shrubs and climbers. Photograph each one, note its health and any damage to bark or limbs. Check whether any tree is protected by a preservation order or sits in a conservation area — confirm with your local authority before pruning. Note invasive plants too, and anything worth keeping for screening or shade.
- 14. Survey the hard landscaping. Measure patios, paths, steps, sheds, greenhouses and retaining walls, and record their condition. A leaning or bulging retaining wall holds back soil and load; treat that as a job for a structural engineer or experienced contractor, not a weekend project.
- 15. Note the small fittings. Outside taps, water butts, downpipes, garden lighting, washing lines, bin stores and the sheltered sunny corner you will want for a chair. Add the awkward spots as well: dark corners, trip hazards, gaps under gates.
Putting the Survey on One Page
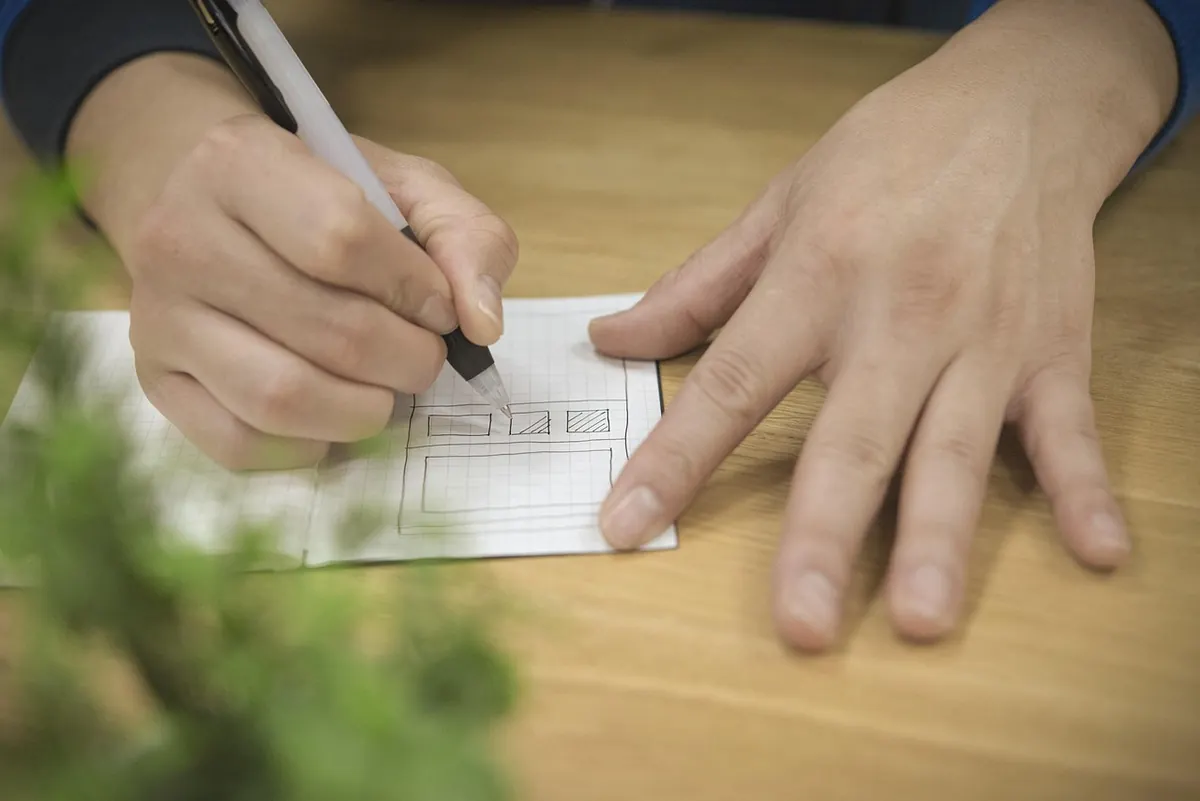
Draw a rough plan — squared paper is fine — mark north, and add the boundary line, slope arrows, buried services, beds, trees and structures in different colours. Number your photographs to match the notes. Keep a digital copy so you can find it again when you are standing in a nursery wondering where that new shrub should go.
Then revisit the garden in another season. A survey done in May misses the autumn waterlogging and the winter wind tunnel, and those two facts alone can change a planting plan. Where drainage, retaining walls or protected trees are involved, bring in a qualified professional rather than working it out as you go. Once the page is filled in, planting becomes the easy part — you will know which bed is wet, which corner is hot, and where the spade must never go.
Photo: Pexels / Pixabay